How to Braid Hair:
The Ultimate Guide for Beginners

From the runway to your weekend coffee run, braided hairstyles always look on point! Braiding your hair keeps it out of your face, protects your strands from damage, and allows you to create an endless variety of fast heat-free styles for both formal and everyday occasions. Learning how to braid hair can be intimidating at first, but it’s not as hard as it looks! With the right products, video tutorials and a bit of practice, you’ll be braiding like a pro in no time.
There are braided styles to suit every hair type, from natural and coily to slippery and pin-straight. If you want to create Insta-worthy braids from the comfort of your home, read on to discover how to braid hair as a beginner.
Index
- How do you start braiding hair?
- How long does your hair have to be to braid?
- How do you do a simple braid?
- How to braid your own hair to the scalp
- How to braid hair for beginners
- How to French braid your own hair
- How to Dutch braid your own hair
- How to braid short hair
- How to box braid your own hair
- How to braid hair for men
How do you start braiding hair?
If you’re looking to start braiding your own hair, you might be wondering how to make your braids look neat and stylish. The key to awesome braids is prepping your hair properly.
Taking a few extra moments to comb through your strands, apply product, and create clean sections will pay off with a more aesthetic hairstyle that holds for longer. Here’s how to get started braiding your hair yourself:

How long does your hair have to be to braid?
The length required to braid hair depends on your hair type and desired style. At a minimum, your hair must be long enough that it can be parted, combed to the side and gripped securely between your finger and thumb.
If you have short to mid-length hair, you may be wondering if your hair is long enough to braid. Good news-- the answer is probably YES!
With 2-3 inches of hair you can create small cornrows or micro braids close to the scalp. If you have 3-5 inches of hair (equivalent to a long pixie cut or “medium length” mens haircut), you can achieve a wider variety of styles, from waterfall braided bangs to side braids and even small French braids.
Longer hair is best for milkmaid braids, braided buns, crown braids and chunky, dramatic braids. However, if you don’t have long, thick hair you can still create these fun styles-- just clip in your favorite hair extensions before you start braiding!

How do you do a simple braid?
A simple three-strand braid is one of the easiest styles to master. But basic doesn’t have to be boring! A few stylist-approved tricks can elevate this quick-and-easy braid to a beautiful classic look. Here’s how to create a perfect three-strand braid:
Step #1: Comb and prep. Make sure you start with dry, combed-out hair. This is a great EASY style to wear in-between shampoos! For a volume boost, work a palmful of Texture Mousse into your hair before styling.
Step #2: Apply styling paste. Put a dab of Styling Paste in your hand, rub your palms together to emulsify the product, and smooth it through your hair from mid-shafts (ear level) to ends.
Step #3: Section your hair. You can either create a center braid that falls down the middle of your back, or bring your hair over one shoulder for a side braid. Divide your hair into three equal sections and secure each one with a clear elastic to keep the sections neat.
Step #4: Pick up one of your side sections and cross it OVER the middle section. (For a side braid, start with the section nearest your face.) This now becomes the new middle piece. Gently pull the braid tight.
Step #5: Pick up the section from the opposite side and cross it OVER the middle section. Again, this piece is now your new middle section. Gently pull the braid tight.
Step#6: Repeat Steps Four and Five until you reach the ends of your hair. Maintain light tension by firmly gripping each section as you work.
Step #7: Secure the ends with a clear elastic. Gently pull the braid apart for more volume (if desired), tidy up any flyaways, mist your braid with hairspray and you’re good to go!
How to braid your own hair to the scalp
Cornrows, also known as scalp braids, are a great way to give natural or relaxed hair a rest from chemical treatments while protecting your delicate strands. These beautiful braids can be as simple or as intricate as you want to make them. For braid beginners, it’s a good idea to start with basic front-to-back cornrows.
Follow these steps to braid your own hair to the scalp:
Step #1: Prep your hair. Wash, deep-condition and detangle your hair with a wide tooth comb. Apply Leave-In Conditioner to your damp hair and blow dry, or allow it to air-dry.
Next, apply a small amount of Styling Paste to your palms and work it into your hair from tips to roots. This will give your braids better grip while reducing frizz.
Step #2: Section the hair. You can create any size of braids that you prefer-- just be sure to keep your sections consistent. Use the tail of your comb to separate a section of hair from your face to the back of your head. Starting on either the left or right side (by sectioning the hair just above your ear) is generally easier than starting in the center. Secure the rest of your hair with clips to keep your sections neat.
Step #3: Prepare to braid. Part off a small piece of hair at the front of your section, next to your hairline. Divide this hair into three equal pieces.
Hold the left and center pieces in your left hand, and grip the right piece in your right hand. Maintain a firm grip, but avoid pulling on the hair, which could result in painfully tight cornrows.
Step #4: Start with a three-strand braid. Bring the left section UNDER the center section, then bring the right section UNDER the new center section.
Step #5: Add hair to your cornrow. As you continue this underhand braid, begin adding small pieces of hair from each side before bringing the hair under the center section.
Use your index finger as a “hook” to reach under the center section, pick up more hair and add it to the side section. Then bring the side section UNDER the center section. Pick up the same amount of hair each time for a balanced shape.
Step #6: Detangle as you go. If you find your hair gets tangled while you braid, use your fingers to gently comb through any knots.
Step #7: Finish the braid. Once all the hair from the section has been braided to your scalp, finish your cornrow with a three-strand braid (if your hair is long). If needed, secure the ends of the braid with a small hair elastic.
Step #8: Repeat with the rest of your hair. Follow Steps Two-Seven until all of your hair has been braided to the scalp. For classic cornrows, create straight parts and uniform sections so that the braids look even.
Once you master the basic cornrow technique, there are endless styling possibilities to try out!

How to braid hair for beginners
“I love your hair-- did you do that yourself?”
Even if you’ve never done any style more complicated than a ponytail, it’s easy to start braiding hair as a beginner. The truth is that most braids are actually very simple patterns (even if they look super-complicated!). For a beginner, the hardest part is often learning how to grip the hair and create a braid that looks balanced from top to bottom.
If you’re new to braiding, the best place to start is with the basic three-strand braid. This simple technique forms the foundation for all other braids and braided hairstyles. Try these tips to master the skill of braiding:
Practice, practice, practice! It helps to practice braiding in front of a mirror with all your hair swept over one shoulder to the front. If you’re right-handed, start by braiding your hair over your right shoulder; if you’re a lefty, braid your hair over your left shoulder.
You can also practice braiding shoelaces, fabric strips, or even licorice ropes!
Never skip prepping your hair. It’s important to start with dry or slightly-damp hair (wet hair stretches too easily and is prone to breakage). Always comb through any tangles and apply a lightweight Styling Paste for easier braiding.
Create neat, even sections. Divide your hair into three equal sections: left, middle and right. Comb through the sections and secure each one with a small clear elastic to keep them separated.
Find your rhythm. Starting with the side section closest to your face, cross it over the middle section. Then take the section on the opposite side and cross it over the new middle strand. Repeat this simple pattern-- right over center, left over center, right over center, left over center-- until you reach the ends of your hair.
Don’t drop your hair! Do your braids tend to come out too loose? Be sure to maintain a firm grip on each section, especially the center section, while you braid your hair.
As you bring a side piece into the center, use the thumb and pointer finger of the opposite hand to grab it in a pincer grip with your fingers close to the braid. Maintain light, consistent tension and gently cinch the braid after every stitch to keep it from sliding out of shape.
Add a finishing touch. After braiding your hair, secure the ends with a clear elastic. For a fuller braid, “pancake” your hair by gently pulling out small pieces. Use your fingers to adjust the shape until it’s just right, then finish with a light hold hairspray to keep your braid in place.
Now that you’ve mastered the basic three-strand braid, what’s next? Get creative with your classic braids by styling your hair in two plaits, or braid one small section of your hair and leave the rest loose for a fun casual look.
Another great versatile braid for beginners to learn is the French braid. It looks way harder than it is, and keeps your hair in place even on windy days! Read on to discover exactly how to French braid your own hair.

How to French braid your own hair
French braids look so pretty… but they can be a little challenging to do on your own hair! Unlike a basic three-strand braid, you’ll be adding hair from the sides as you braid.
The secret is to braid tightly and add small, consistent sections of hair. To avoid looking like a Pinterest failure, follow these simple steps to correctly French braid your own hair:
Step #1: Prepare your hair. Make sure to start with dry, well-combed hair. Both freshly-washed and second-day hair will work for a French braid, but slightly dirty hair gives you better hold. Apply a dab of Styling Paste to your hands, emulsify the product, and work it through your hair for added grip.
Step #2: Brush and section your hair. Tip your head slightly back and brush your hair straight back from your face. Separate the hair on top of your head, from the temple areas to the crown, as if you were pulling back your hair for a half-up style. Divide this hair into three equal pieces.
Step #3: Begin with a three-strand braid. Cross the right section over the center section, then cross the left section over the new center section. This helps to strengthen the braid before you start adding hair.
Step #4: Add hair from the right. Grip each of the three sections in your left hand and use your right hand to pick up a small piece of hair, creating a horizontal line from your right temple all the way to the side of the braid.
Step #5: Incorporate this new hair into the right section, using your fingers to comb the hair together. Then cross the right section over the center section to continue braiding.
Step #6: Add hair from the left. Grip each of the three sections in your right hand and use your left hand to pick up a small piece of hair, this time from the left side of your head. Be sure to create a clean line from your left temple all the way to the side of the braid.
Step #7: Incorporate this new hair into the left section, combine the hair together, and cross the left section over the right section.
Step #8: Repeat Steps Four-Seven until you reach the nape of the neck. Remember to add small, evenly sized sections of hair as you work down your head. (Think about creating a pattern of horizontal stripes!)
TIP: To avoid an unsightly bulge in your French braid, keep your hands close to your head and neck. As you incorporate the final sections of hair, avoid adding large pieces or lifting hair up to add it to the braid. Instead, continue working with small sections and moving the newly added hair straight across.
Step #9: Braid the tail. Once all your hair has been incorporated into the braid, finish by braiding the rest of your hair in a three-strand braid. If needed, you can bring your hair over your shoulder at this point for easier access.
Step #10: Finish your French braid. Secure the braid with a clear elastic. If desired, pull apart small pieces from the center of the braid for a fuller look. (Do not pull on the sides, as this could cause hair to slip out of your braid.) Spray flexible hold hairspray all over and use your hands to gently pat down any flyaways.
Mastering the art of French braiding takes a bit of time and practice, but this skill opens the doors to SO many amazing hairstyles! Try creating two French braids and securing them at the nape of your neck, leaving your ends loose and wavy. Or do a small face-framing French braid! We also love pinning up the ends of two French braids for a super-quick halo braid.
How to Dutch braid your own hair
Wanna go Dutch? While Dutch braids look complicated, they’re actually just French braids in reverse! Instead of crossing the hair over the center section, you bring the hair underneath. For this reason, Dutch braids are sometimes referred to as inside-out or reverse French braids.
Dutch braids have a cool boxy shape and can be used to create countless trendy hairstyles. This is a good style to learn after you’ve mastered the basic three-strand braid and the French braid. Just follow these simple steps to Dutch braid your own hair:
Step #1: Get ready. Start with dry, well-combed hair. Craving longer or thicker braids? Clip in your favorite hair extensions.
Step #2: Part and section your hair. For two Dutch braids, use a tail comb to create a center part in your hair. Divide your hair into two sides, and clip one side out of the way.
Step #3: Apply a dab of Styling Paste to your hands, emulsify the product, and work it through your strands for easier styling and less slippage.
Step #4: Create a small triangle-shaped section of hair at the front of your hairline. The center part will form one side of this triangle, and your hairline will form the second side. Use your fingers or a rat tail comb to create the third side of the triangle, and separate this section of hair.
Step #5: Split the triangle-shaped section into three equal pieces.
Step #6: Begin braiding. Pick up the piece of hair closest to your face and bring it UNDER the center section. This piece now becomes the new center section. Then pick up the piece farthest from your face and bring it UNDER the center section.
Step #7: Add hair to your braid. As you continue braiding, add a small piece of hair to each section before bringing it under the center section. For a neat and balanced braid, make sure to add the same amount of hair each time and keep your sections clean.
Step #8: Place your hands where you want your braid to go. As you continue braiding, direct the hair over and behind your ear. Think about forming a diagonal line from your hairline towards the back of your head.
Step #9: Finish with a three-strand braid. Once you have incorporated all the hair from that section, braid the rest of your hair in a classic three-strand braid. Continue bringing the side pieces UNDER the center piece for a consistent look. Secure your ends with a small elastic.
Step #10: Repeat on the opposite side. After finishing both Dutch braids, “pancake” your hair by pulling out small sections until you get the shape you want. Finish with an all-over blast of Shine Spray for frizz control and light-catching shine!

How to braid short hair
If you’re wondering, “Is my hair too short to braid?” you might be pleasantly surprised. While certain braided hairstyles work best with long flowing locks, there are many styles you can create with short hair.
Some of the best braided hairstyles for short hair are those that involve adding hair to the braid, such as cornrows, French braids and Dutch braids. Try these tips to learn how to braid short hair:
Frame Your Face
Smaller, face-framing braids work great in short hair! For a flattering French braid, section off the hair from your ears to your hairline. Tilt your head to one side and pick up a small piece of hair above your ear. Divide this hair into three equal parts and begin braiding.
As you continue braiding along your hairline, pick up small pieces of hair from each side to add to the braid. Once you’ve added all the hair from the section, finish the style with a three-strand braid (if you have enough length) or use bobby pins to secure the braid just above your ear.
Double The Fun
It’s often easier to style short hair in two French braids or Dutch braids, rather than one. If you don’t have enough length to braid the ends in a 3-strand braid, use bobby pins to secure the braids against your scalp.
Add an Accent
Does your short hair tend to slip out of regular braids? Try smaller “accent” braids instead! Separate the hair on your crown and braid it straight back in cornrows or mini Dutch braids for an eye-catching half-up style. Or create a narrow side braid (either French or 3-strand) behind your ear to add visual interest.
Go for Grip
It’s extra-important to make sure short hair has good grip for braiding, since there isn’t as much length to play with. Start by working with second- or third-day hair, as the natural oils will help your hair hold its shape. Apply Styling Paste to your hands before braiding to enhance definition and shine.

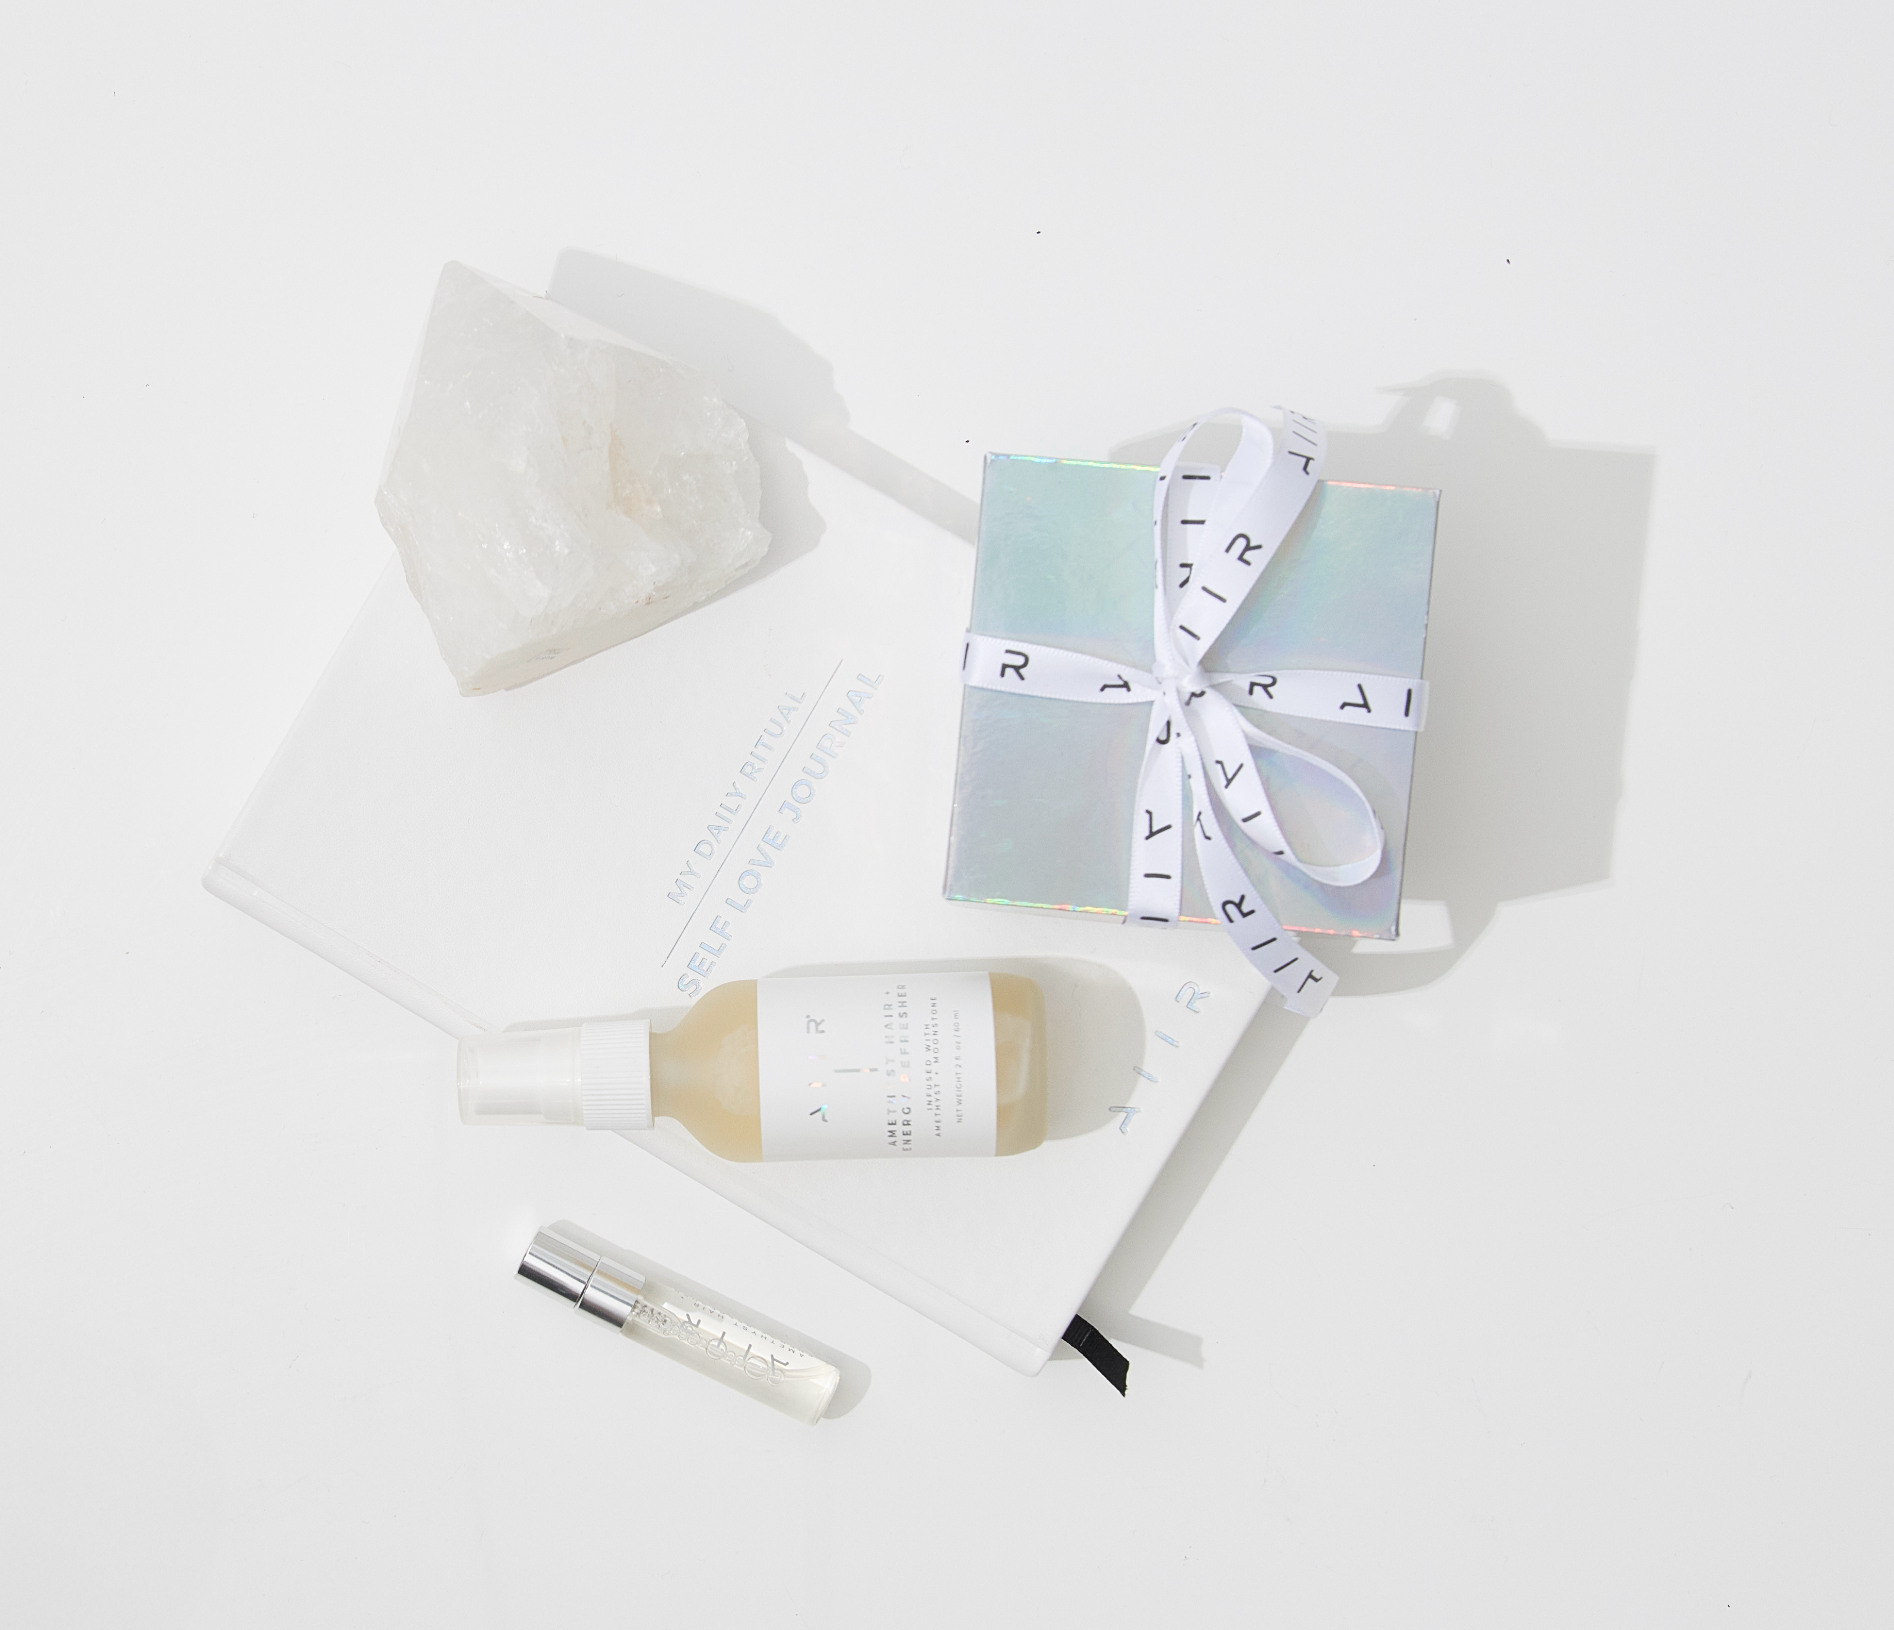
Photo by #AIIRForce
Styled by @vickicasciola & @brandonliberati
Assisted by @hair.juancarlos
Model @byangeleaque 💕
How to box braid your own hair
Box braids are one of the best protective styles for natural textured hair. The styling possibilities are nearly endless, and with a little practice, you can learn how to box braid your own hair at home. Here’s what to do:
Step #1: Prep your hair. Wash, deep-condition and detangle your hair with a wide tooth comb. Apply Leave-In Conditioner and blow dry your hair in small sections.
Next, apply a small amount of Styling Paste to your palms and work it into your hair from tips to roots. This will give your braids better grip while reducing frizz.
Choose the extensions you want to use in your box braids. Pre-stretched extensions designed for braiding are the easiest option. You can also skip the extensions if you have long hair.
Step #2: Section your hair. Use the tail of your comb to section off your hair into your desired number of sections. The size of your sections will determine the size of your box braids, so keep that in mind when choosing how to section off your hair.
Whatever shape or size of sections you choose, the key is to keep them consistent! Secure the sections that you’re not currently braiding with small clips.
Step #3: Prepare your extensions. Pick up a weft of your hair extensions and separate it into two pieces-- one that is one-third of the hair, and one that is two-thirds of the hair. Wrap the smaller piece around the larger piece so that you divide it in half, then combine the ends of the smaller piece together. This will give you three equal-sized pieces.
Step #4: Begin the box braid. Divide the sectioned-off hair into two equal pieces. Place the hair extensions close to your scalp and combine two sections with the two pieces of your natural hair.
Then reach under the center piece with your index finger and grab the third piece of hair (the final section of the hair extensions). Pull this piece to the center with your index finger and thumb. Repeat on the opposite side.
Step #5: Braid to the ends of your hair. Continue this braiding rhythm-- left under center, right under center-- until you reach the tips of your hair.
Step #6: Repeat with the rest of your hair. Follow Steps Three-Five for each remaining section of hair. If you’re using extensions, finish by dipping the ends of your braids into boiling water to seal the ends.
How to braid hair for men
Move over, man bun! Fashion-forward guys everywhere are embracing braids as a creative way to express their individual styles. There are a ton of braid options for men with mid-length and longer hair. Here are some tips to get started braiding your own hair:
Work with your haircut and hair type
If you have an undercut, try doing a narrow horizontal side braid right above the fade. Or try braiding all of the hair on top in two or more braids. Cornrows are a popular choice that look great on textured hair. For longer hair that is also straight, one (or several) long braids work well.
Get the right tools
Technically, you can start braiding your hair using just your fingers and a comb. However, it’s a good idea to apply a light spritz of water or a dab of Styling Paste for added manageability. You may also want a hair elastic to secure the ends of the braid (unless your hair has enough natural texture to hold the shape).
Master the basics
The basic pattern of braiding, called the three-strand braid, is actually very simple. Use your comb to separate the hair that you want to braid and remove any tangles. Divide that hair into three equal sections.
Cross the right-hand section over the center, then cross the left-hand section over the center. Hold the hair firmly as you continue this pattern-- right over center, left over center, right over center, left over center-- until you have the braid length you want. (You can also start with crossing the left-hand section over the center. The goal is simply to alternate sides.) Tie off the ends of the braid with an elastic.
For the best braids, keep your hands close to your scalp as you work. Braid your hair in the direction that you want the braid to fall-- straight back, horizontal or down the side.
Level up your skills
Many popular guys’ styles involve some form of French braiding, which means you’ll be adding hair to the braid as you go. This attaches the braid more securely to your head-- a big plus for shorter hair.
To achieve this look, first determine the size and direction of braid that you want. Section off the hair that will be braided and separate a small piece of hair at what will be the “top” of the braid. (Usually this will be next to your hairline or part.)
Divide that hair into three equal sections as you would for a regular braid. Cross one of the side pieces over the center piece, then repeat on the opposite side.
Then pick up a small “slice” of hair, add it to the side section, and cross this section over the center. Repeat on the opposite side. Continue this pattern-- pick up hair, add to right section, right over center, pick up hair, add to left section, left over center-- as you work your way down the hair.
For best results, try to pick up the same amount of hair each time and maintain a firm grip on the hair as you braid. Use your hands to direct the braid the way you want it to fall.
Finish off the braids
You can tie your braids off with simple elastics or gather them into a top knot (or yes, a man bun) depending on the look you’re going for. If your hair tends to be dry, you may want to finish off with a few drops of hair oil.

Conclusion
Learning how to braid your own hair is one of the easiest ways to get creative with your look. Even if your braid doesn’t turn out well the first time, keep trying! Remember, it’s not permanent-- you can always take it out and try again. With practice, patience, quality hair products and step-by-step tutorial videos, everyone can learn how to braid hair.
Once you master the basics, experiment with the size, shape and number of braids to create your own unique looks. Soon you’ll have a repertoire of beautiful styles that are perfect for hectic mornings, lazy days at home, and special occasions.
Need more inspiration? Check out AIIR Professional on Instagram for the dreamiest braids and upstyles. If you create a braid using our products, be sure to tag us in your picture @aiirprofessional ♥♥♥
Let’s keep sharing beauty, creative energy and good vibes with the world!
XO,
The AIIR Professional Team